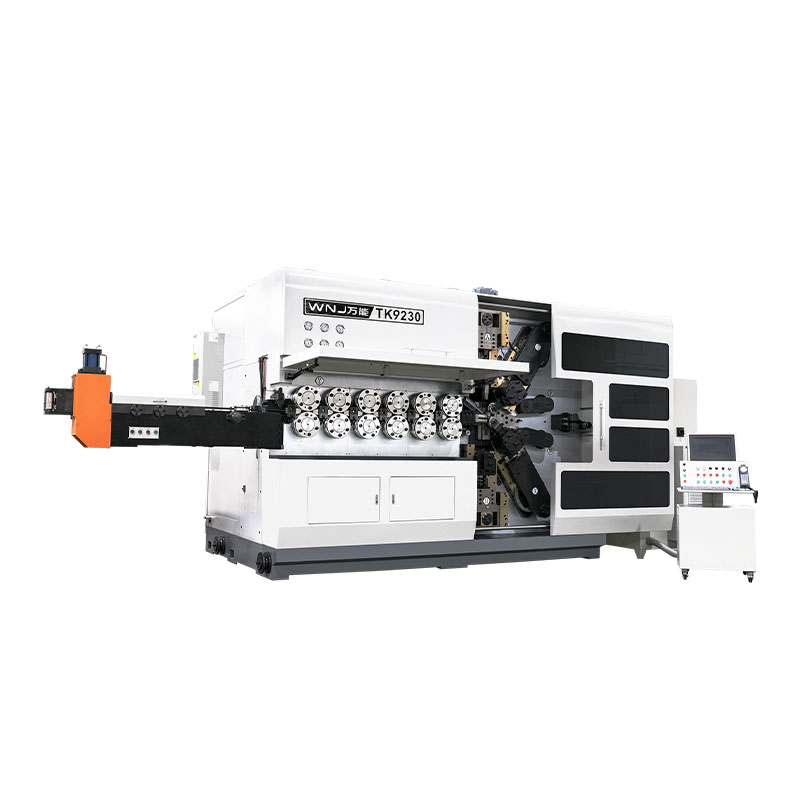
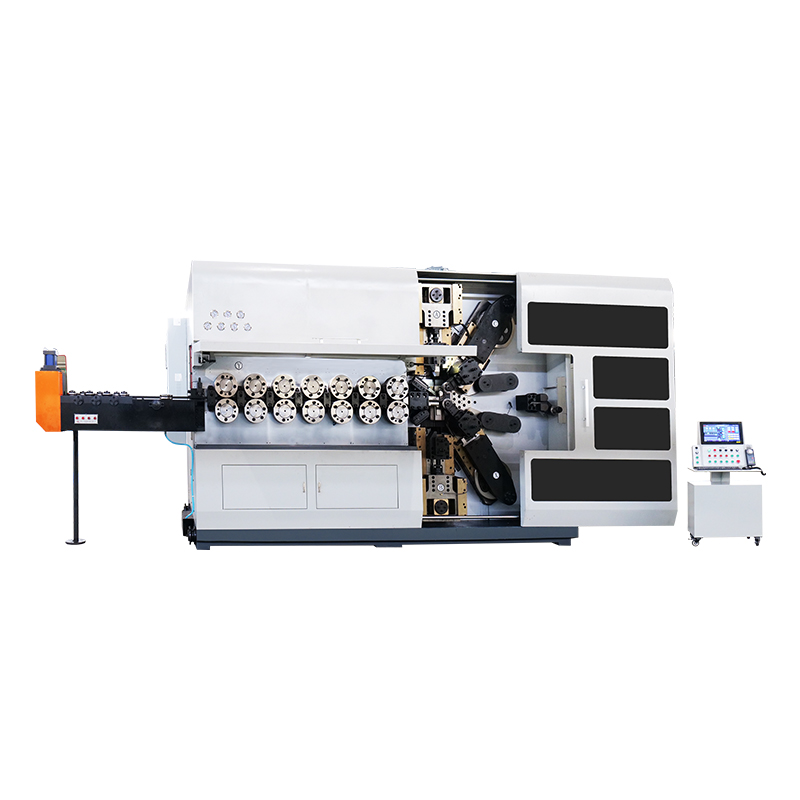
Replacing components in a
spring machine should be done carefully and, in many cases, by a trained technician to ensure the machine's continued functionality and safety. The specific steps to exchange components can vary depending on the type and complexity of the spring machine, but here is a general guideline to give you an idea of the process:
Before You Begin:
1.Safety Precautions: Ensure the spring machine is powered off and disconnected from the electrical source to prevent electrical hazards. Use personal protective equipment (PPE) as necessary.
2.Documentation: Refer to the machine's user manual and any technical documentation provided by the manufacturer for component replacement instructions and specifications.
3.Tools and Parts: Gather the necessary tools, replacement components, and any fasteners or connectors required for the replacement.
Steps to Exchange Components:
1.Identify the Faulty Component:
Diagnose the issue and determine which component needs replacement. This could be a motor, sensor, control board, wiring harness, or other parts.
2.Access the Component:
Depending on the machine's design, you may need to remove covers, panels, or access doors to reach the faulty component. Follow safety guidelines for disassembly.
3.Disconnect Power and Wiring:
Ensure the machine is completely disconnected from the power source. Disconnect any electrical wiring or connectors attached to the component you are replacing.
4.Remove Fasteners and Mounting Hardware:
Use the appropriate tools to remove any screws, bolts, or fasteners holding the component in place.
5.Take Note of Connections:
Before removing the component, take note of the orientation and connections (wires, cables, hoses, etc.) to ensure proper reassembly.
6.Remove the Faulty Component:
Carefully lift or slide out the old component from its mounting position, being cautious not to damage surrounding components or wires.
7.Install the Replacement Component:
Carefully position the new component in place, aligning it properly with mounting holes and connectors.
8.Secure with Fasteners:
Reattach any screws, bolts, or fasteners to securely hold the replacement component in place.
9.Reconnect Wiring and Cables:
Reconnect all electrical wires, cables, and connectors to the replacement component, ensuring proper orientation and alignment.
10.Test the Machine:
Before fully reassembling the machine, power it on and test its functionality to verify that the replacement component is working correctly.
11.Reassemble the Machine:
If necessary, reattach any covers, panels, or access doors that were removed during disassembly.
12.Final Inspection:
Conduct a visual inspection to ensure all connections are secure, and there are no loose parts or wires.
13.Power On and Test Again:
Reconnect the machine to the power source and perform another test to ensure that the machine operates as expected after component replacement.
14.Documentation and Maintenance:
Update any maintenance logs or records with details about the component replacement. Consider performing routine maintenance as recommended by the manufacturer.
If you are not confident in your ability to replace machine components, it is highly advisable to seek assistance from a qualified technician or the machine's manufacturer. Incorrectly installed components can lead to safety hazards and further damage to the machine. Additionally, performing repairs without proper training may void any warranties.

 Language
  中文简体
中文简体 English
 русский
 Español